
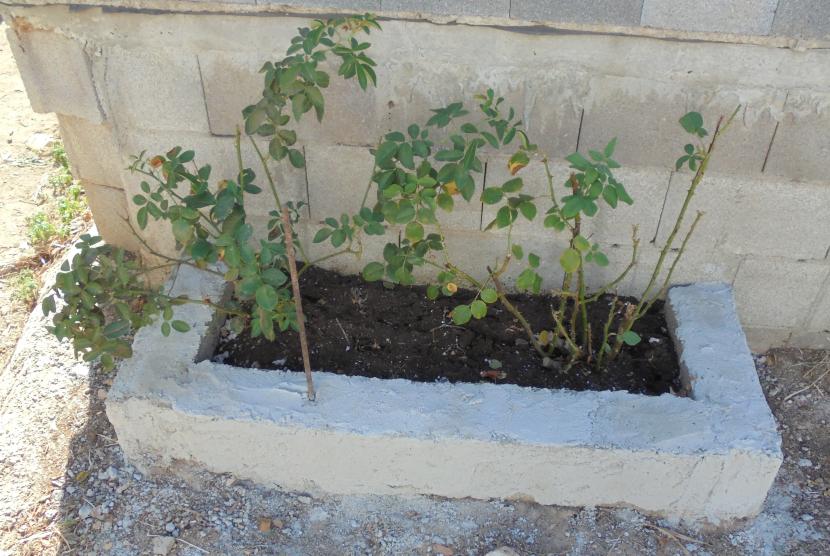
Very good days! How did you spend the weekend? Today Monday we are going to paint the block planter what did we do a while ago since you want to see it finished.
Follow the Step by Step so that the plants you have put inside look even more beautiful.
Preparing material
Before starting any work, it is highly recommended to prepare beforehand everything that we are going to need. In this case, before proceeding to apply one or more coats of paint, you have to tie up, that is, cover the blocks with a layer of paste. A) Yes, need:
- Small hand shovel
- Trowel (for masonry)
- Espuerta or trolley where to make the pasta
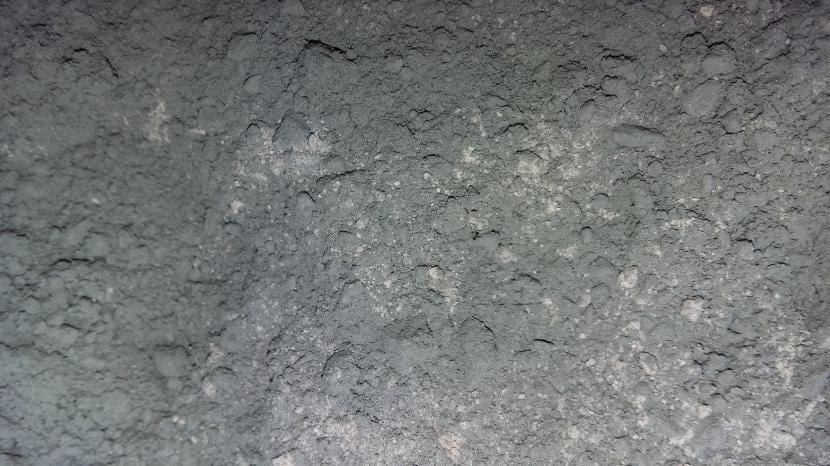
- Cement
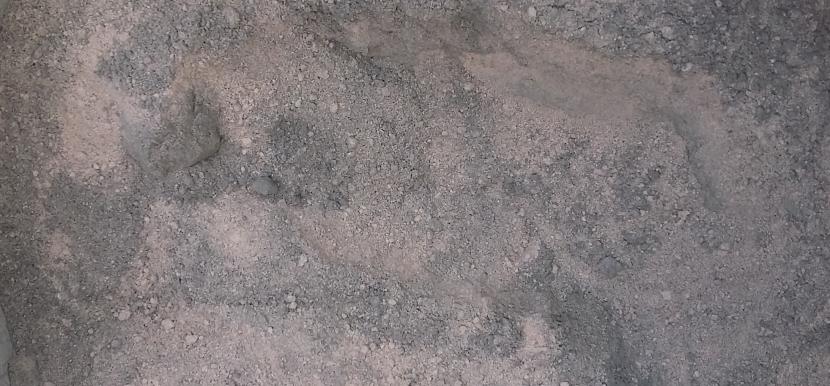
- Picadin
- Water
- Exterior paint
- Brush
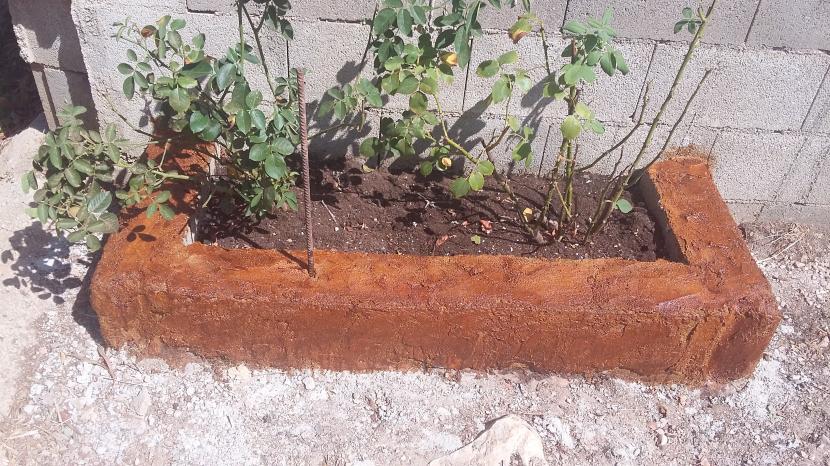
Anchor
To make this guide easier, we will divide the work into two parts: in the first we will know how anchor, and in the second we will learn to paint.
Step One - Make the Pasta
To tie up we need a liquid paste, but not flooded, since otherwise we would end up wasting cement and picadín. Making it is much easier than it might seem, in fact, you just have to mix with the help of the hand scoop. 6 picadín spurs with 2 cement, if your planter is small.

Then you have to add water until everything is fine moistened, and mix again until something like this is left.
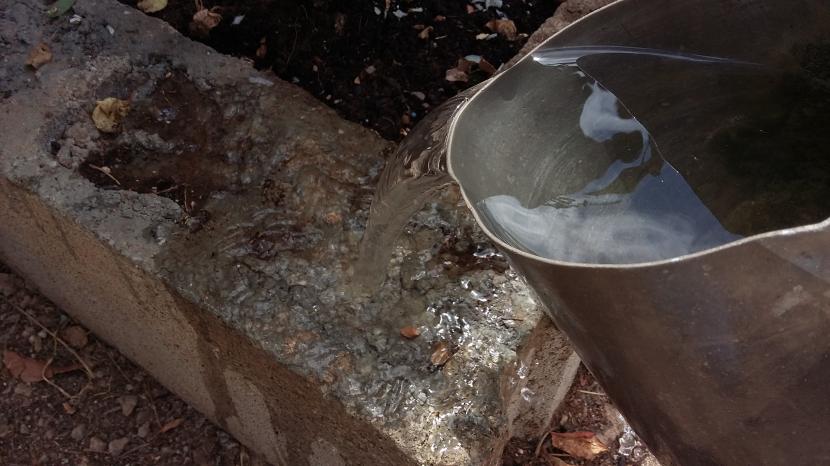
Now moisten the blocks. In this way, the paste sticks more quickly.
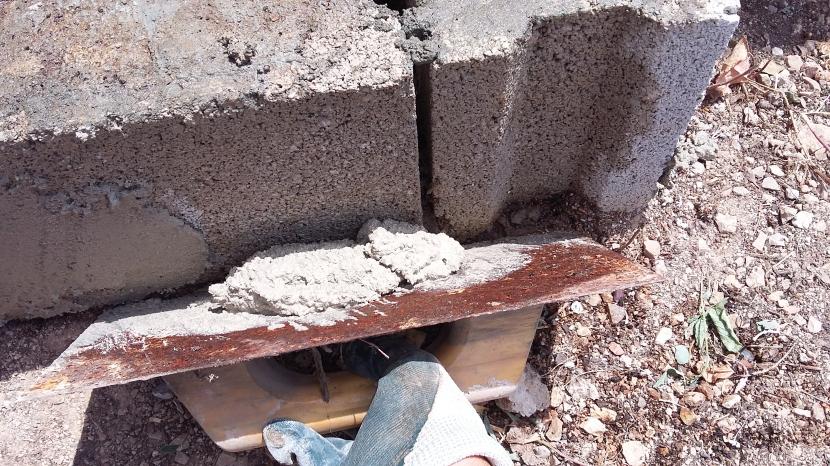
Put some pasta on the trowel, place it with the bottom part glued to the block first, and then, with both hands, push forward as you go up the trowel.
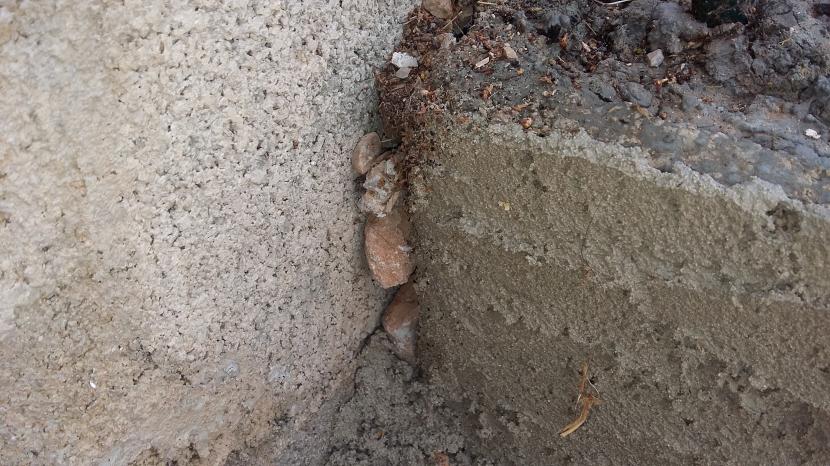
In the joints, to spend less money, put some small stones. When that area is tied up, they will not be seen.
Clever! Not bad, right? If you want the sides to be completely smooth, once it has completely dried, you can run it with a wire brush or polisher.
Paint

We put away the masonry tools, and we took out the paint tools. Now it's the less hard work, and the more rewarding one. But before we start, you have to remove the dirt from the blocks. We can do it with the same brush that we are going to use to paint, or using a broom.
We started to paint. The color I have chosen is satin chestnut, because I love the rustic. But there are many other colors you can choose from: satin oak, blue, green ... Of course, The colors you choose are highly recommended that they do not clash with those of the room.
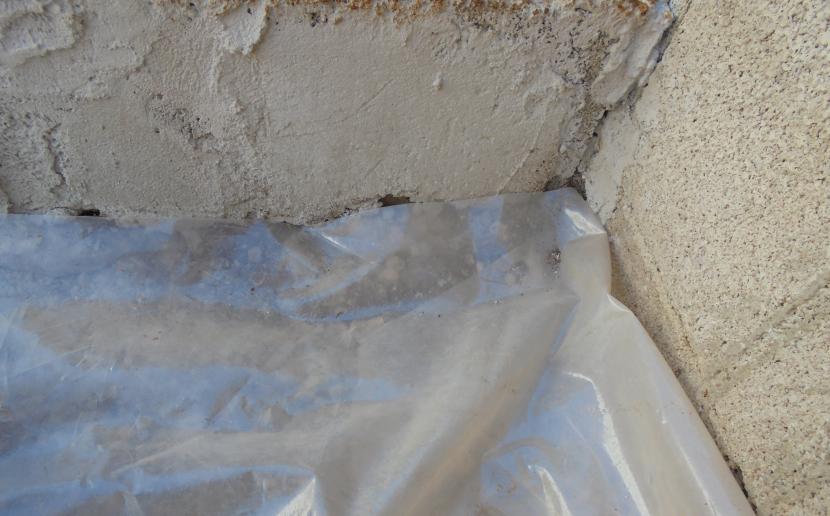
To paint the sides and not leave traces of paint on the floor, we will put a piece of plastic as close as possible to the planter.
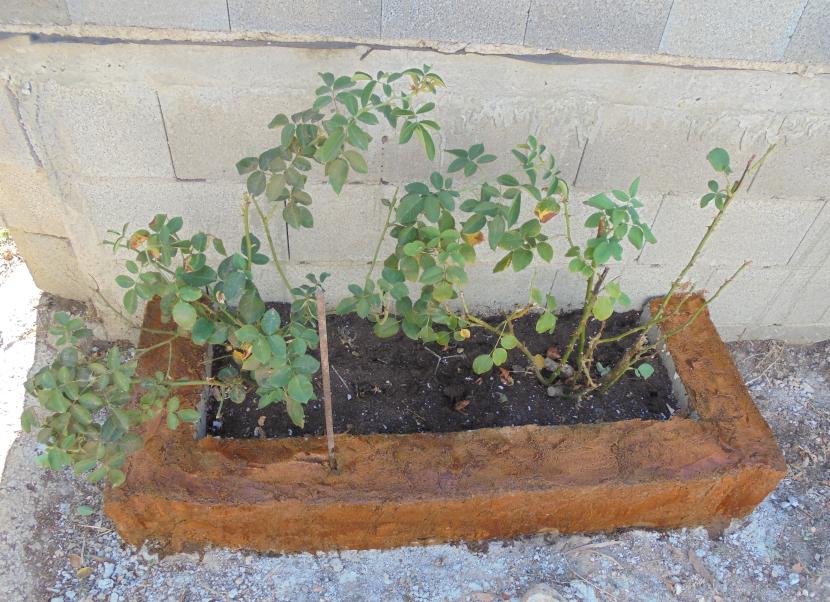
First coat of paint on! We can leave it like that or give it another pass. We will decide this after one hour, which is after that time when the container indicates that it can be repainted.
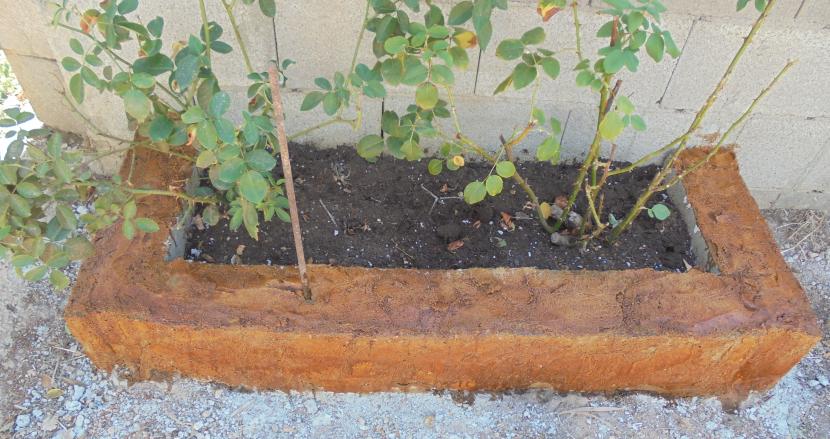
Well, in view of the fact that what was desired has become a little clearer, it was decided give another coat of paint.
Finally, we have it finished. How about? Has it been easy for you to make your planter? Let us know.