
Among the most popular vegetables to add color to gardens throughout the year are bulbous plants. Not only do they stand out for their beautiful tones, if not, they do not require much care. In addition, they can even be planted in pots, thus facilitating the decoration of our home. That is why we are going to explain in this article how to plant bulbs both in pots and in the ground.
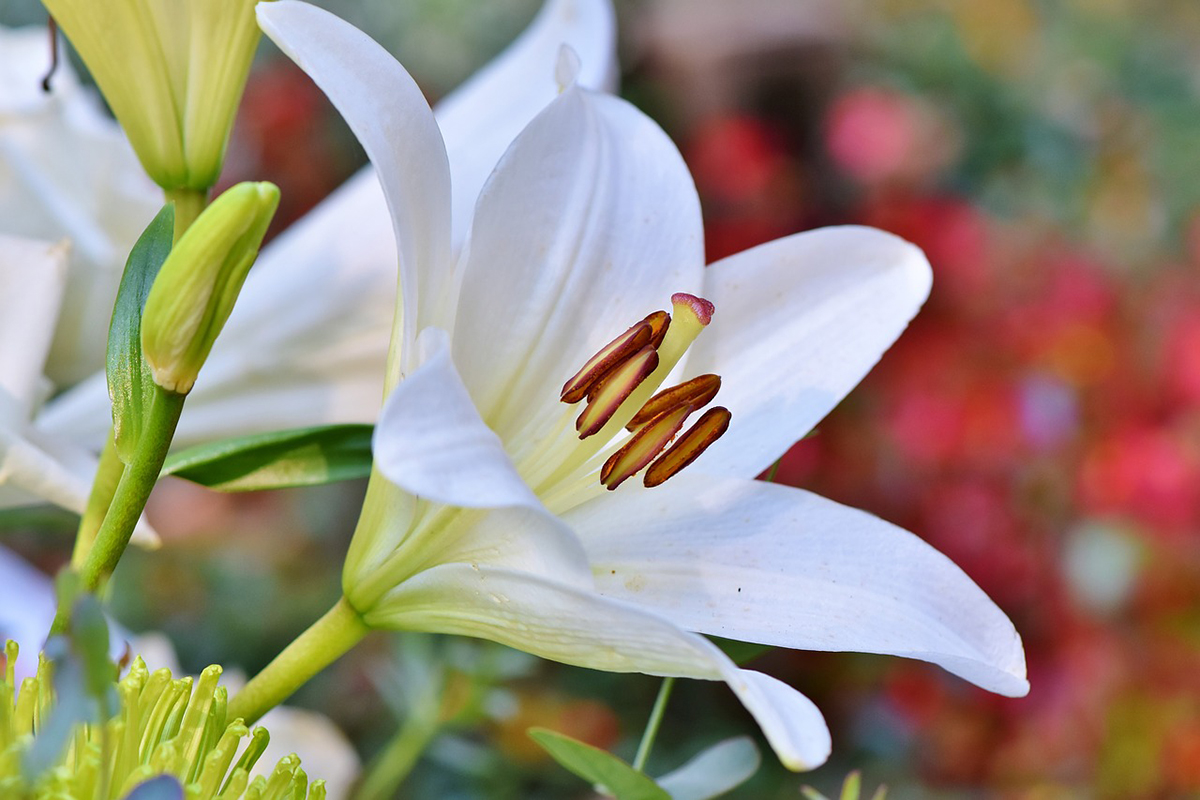
Bulbs are a type of perennial vegetable that they have underground organs where they reserve nutrients. For this reason, they tend to lose all that part that is outside the earth during times that are less favorable for their growth. During these periods they remain at rest thanks to the reserves they have stored in the bulbs. Some examples for these very special plants would be hyacinths, dahlias, tulips, galtonia, daffodil or lilies. If you want to learn how to plant bulbs, I recommend that you keep reading. Apart from explaining it step by step, we will also tell you when to do it.
When to plant the bulbs?
Before explaining how to plant the bulbs, let's discuss when is the best time to do it. Since bulbous are a fairly large group of perennials and herbaceous plants, the optimal planting period depends on the species.
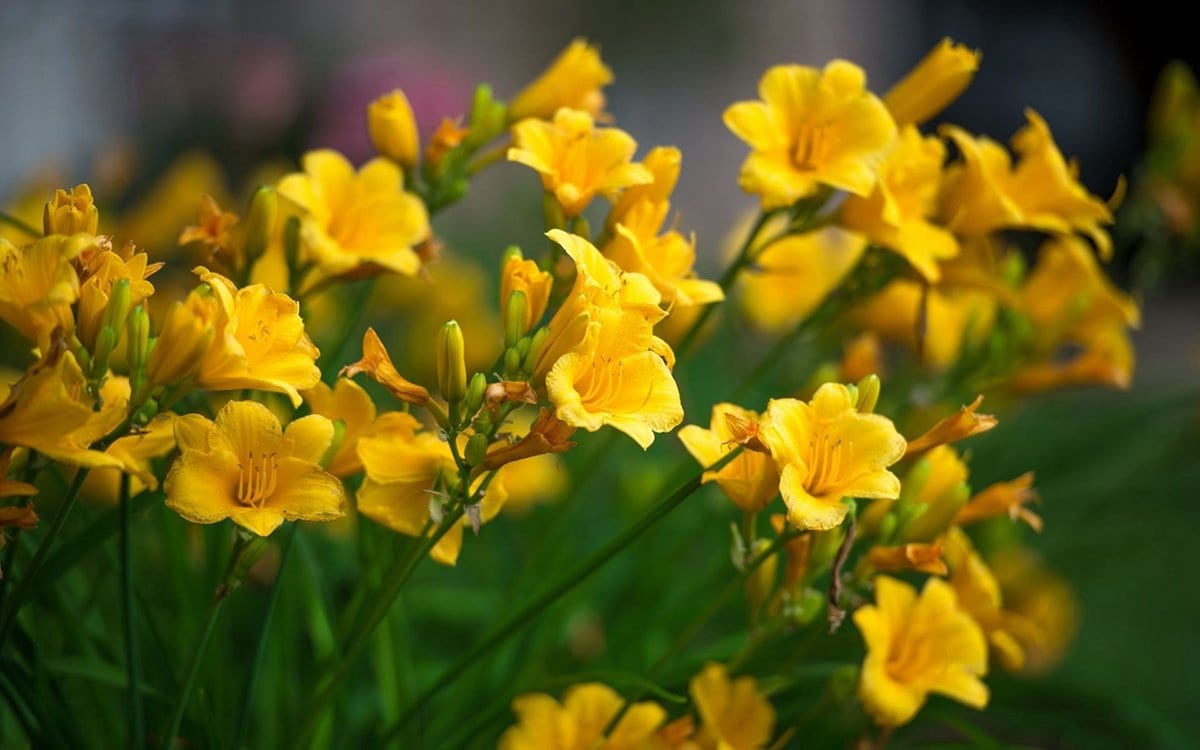
- Bulbous that bloom best in spring: Ideally, plant these vegetables during the fall. Therefore, the best months for this are October and November. Examples of spring bulbous: Hyacinth, lily, daffodil, tulip, yellow lily, etc.
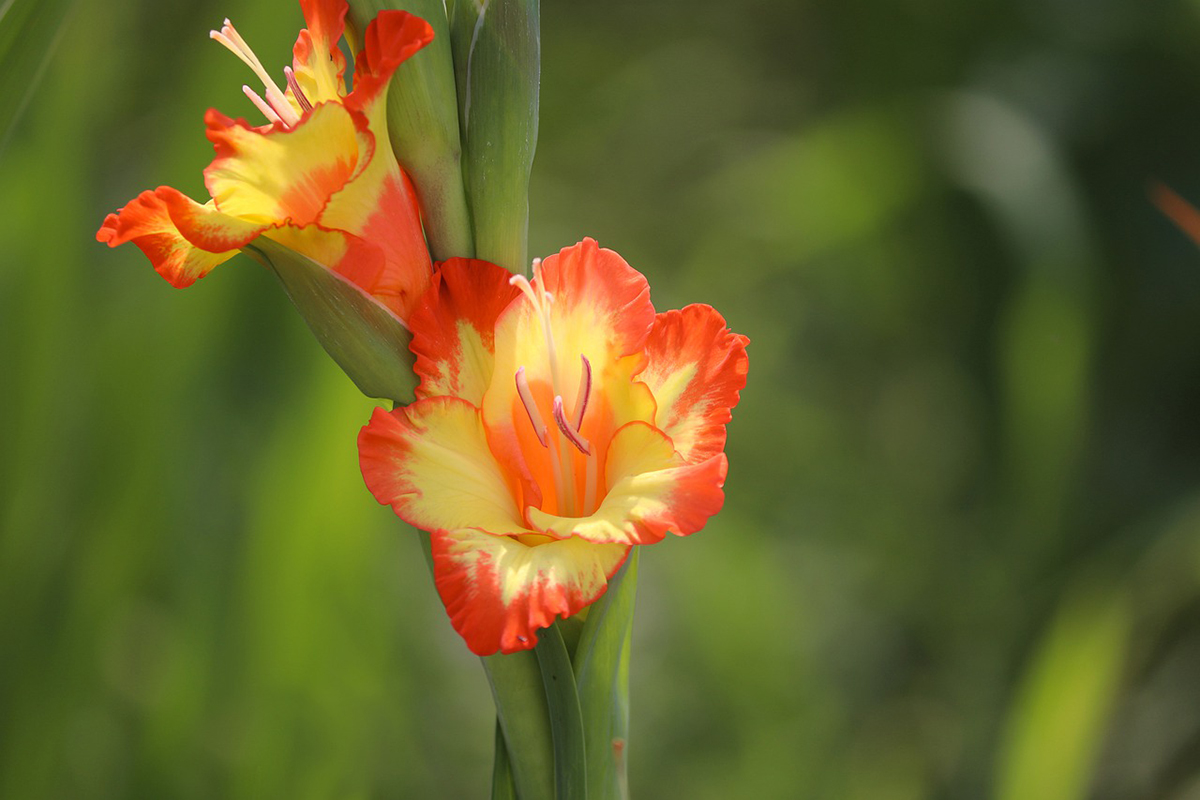
- Bulbous that bloom best in summer or fall: The best time to plant these is in spring, between the months of March to May. Examples of summer or autumn bulbous: Pink lily, dahlia, cyclamen, gladiolus, tuberose.
How to plant potted bulbs?
Once we are clear about when it is most advisable to carry out this task, we will see how to plant potted bulbs. Before everything We must leave all the necessary material ready. Let's list it:
- Pots with drainage holes. They must have a diameter of at least four inches and a depth of at least four inches.
- A shower cabin.
- Easy draining substrate.
- The bulbs, obviously.
When we have everything ready, it's time to get down to work. Planting the bulbs is quite simple. First we must fill the pots with the substrate to about half more or less, or a little above. Then we will place the bulbs inside and put more substrate. After filling the pots, it's time to water them and place them in a place where they get a lot of sunlight.
We also have the option of planting several bulbs in the same pot. How? Well, it is very easy. We arrange the bulbs according to the size that the plant will end up having. In the deepest part of the pot we will place the bulbs of the largest plants, cover them with a little substrate and place the bulb of the next largest plant in height. We cover this again and so on until we have placed all of them.
How to plant bulbs in the ground?
We already know how to plant bulbs in pots, but how is it done in the ground? Well, the substrate and the texture of the soil in which we plan to plant the bulbs are two very important factors. Ideally, the land should have very good drainage so that flooding cannot occur. If not, the bulbs could end up rotting. So it is highly advisable to avoid clay soils and choose those that have a sandy loam texture. In addition, it is essential to choose a good location to plant these vegetables. Remember that they require a lot of sunlight to be able to develop properly and grow.
Once we are clear about where to plant and have chosen the varieties of bulbs we want, We must check that we have all the necessary tools at our disposal. These are the following:
- A bulb planter or a hand shovel.
- A hoe to be able to remove the earth.
In the event that we want to incorporate some organic compost, we can do it after we have tilled the land. However, the bulbs already contain enough nutrients to keep the plant from growing again, so it is not really necessary to add this extra. Yes, it can help the flowering of the vegetable and it will surely improve the condition of the soil.
Step by step instructions
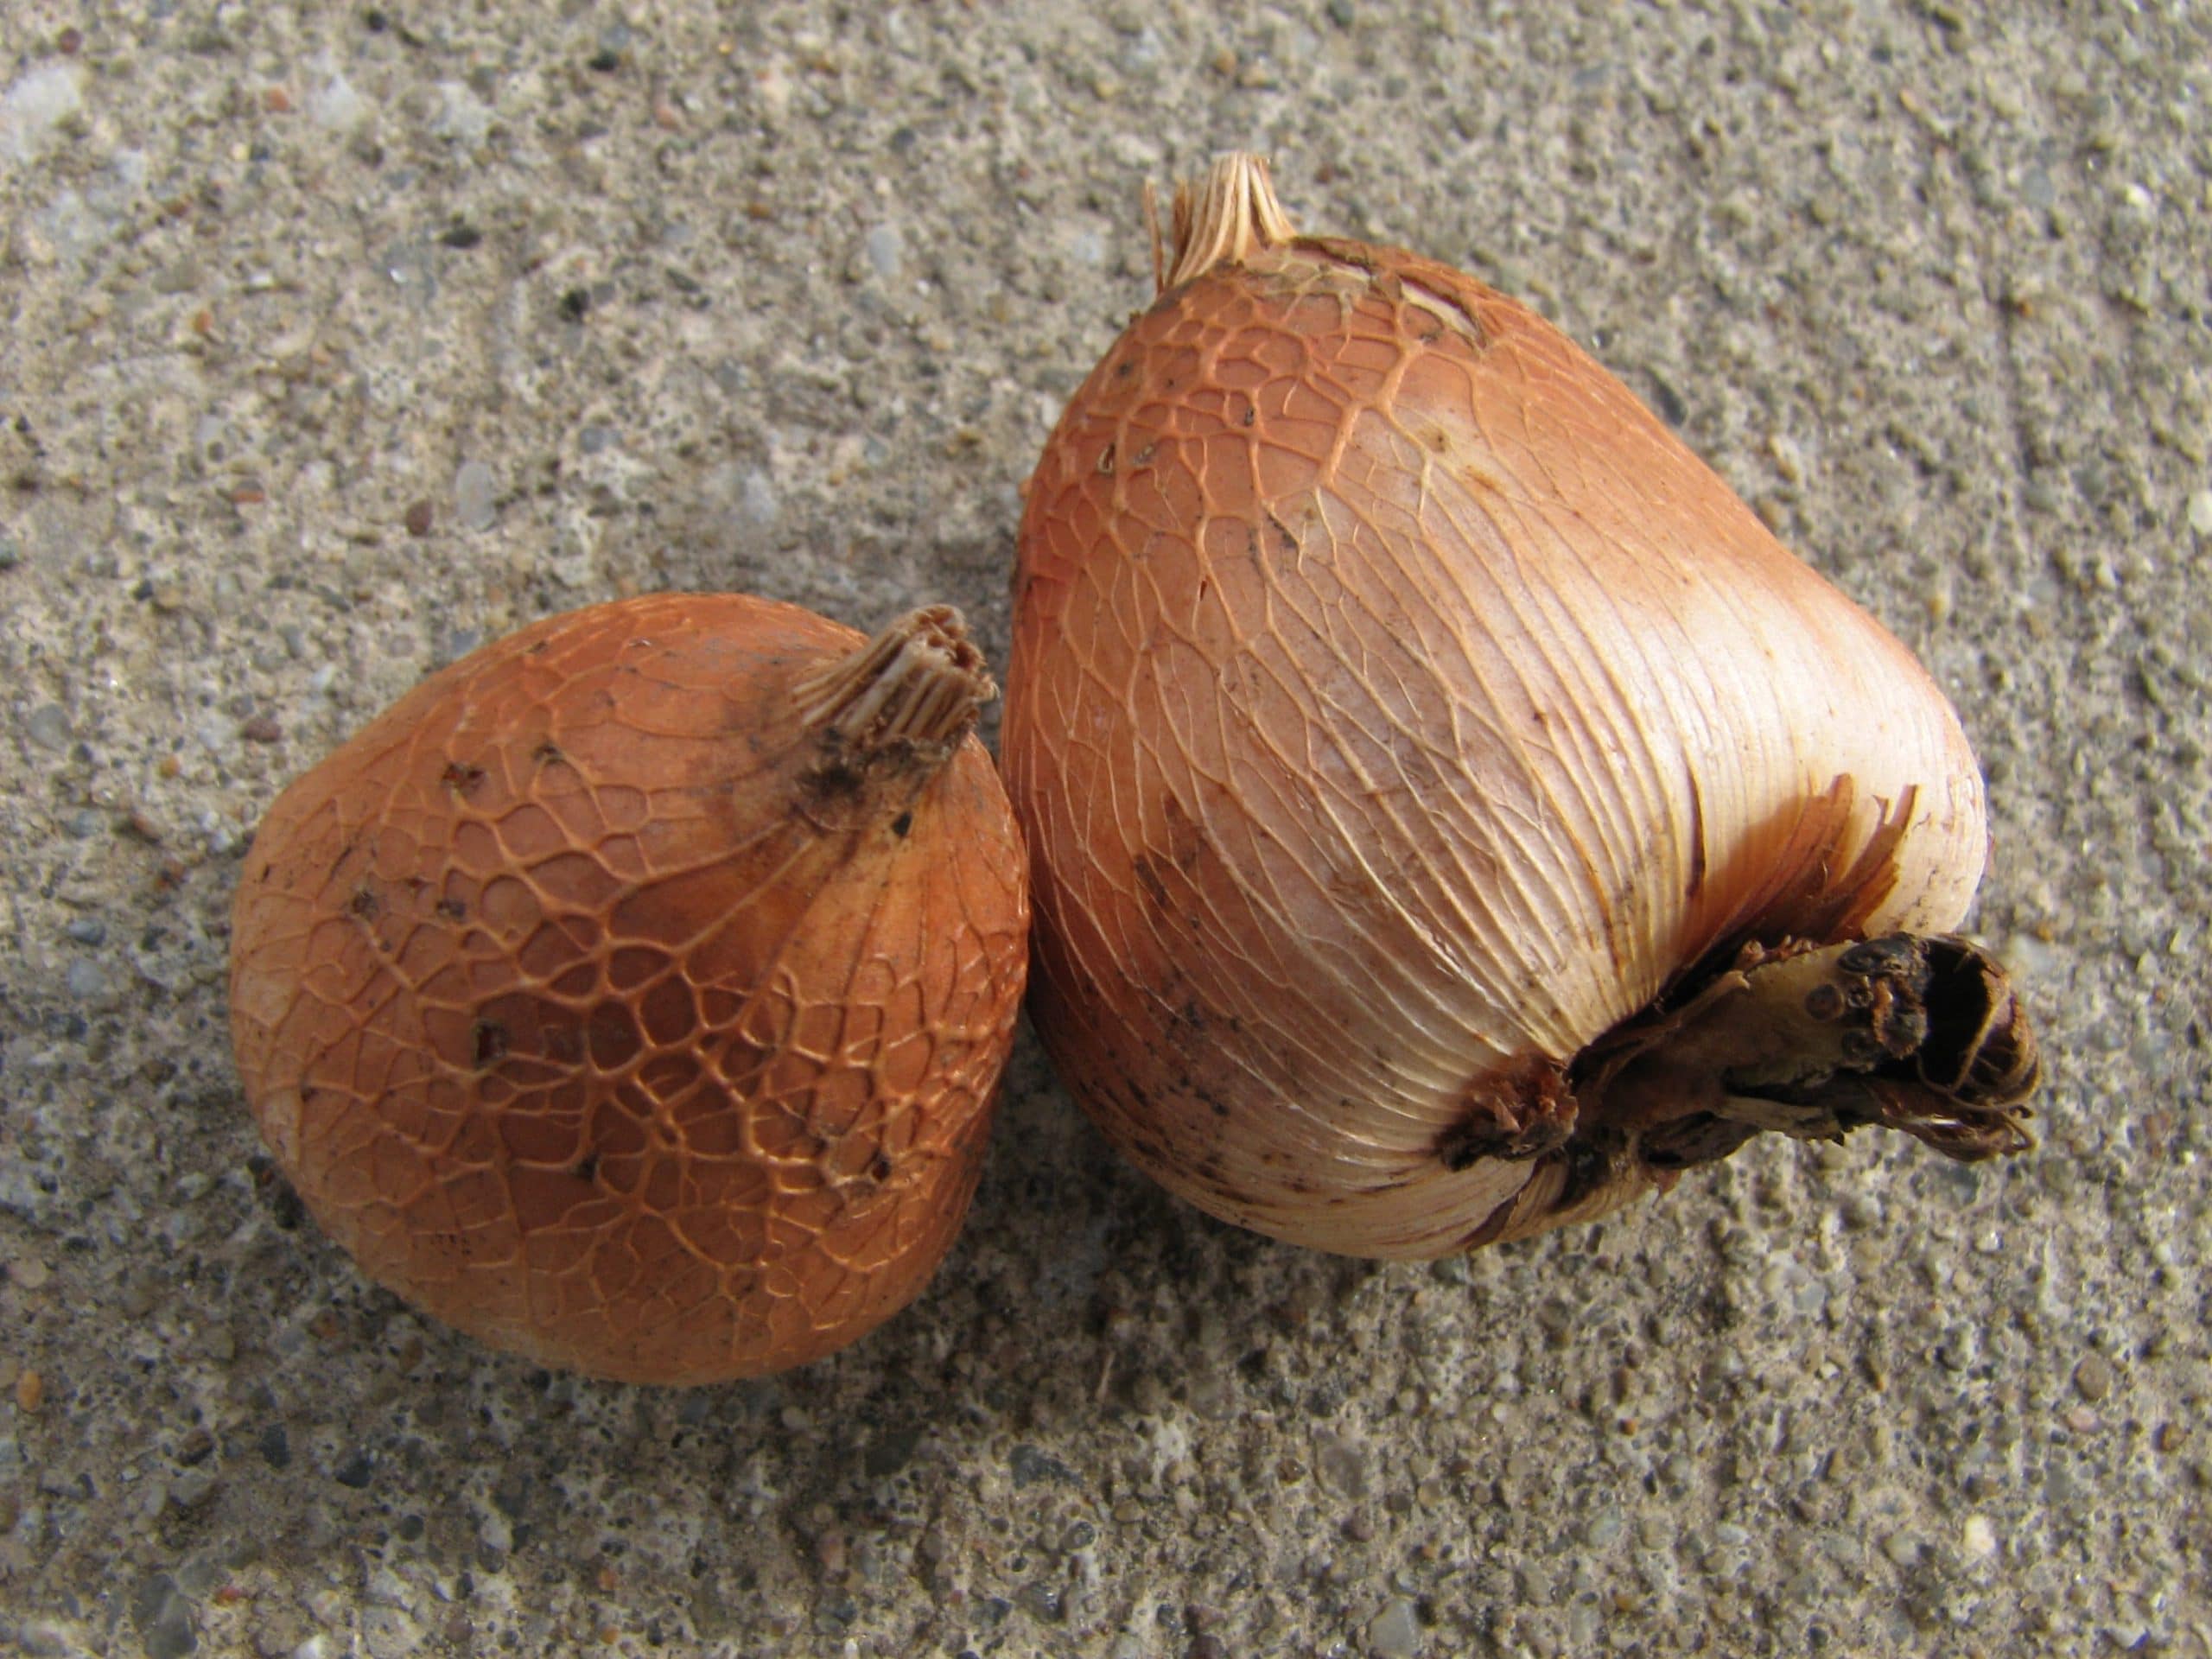
If we have everything ready, it's time to start the hard work. First we must make sure that the bulbs we have purchased are in good condition. To do this, you have to check if they are hard and that they have a healthy appearance, that is, without holes or bumps anywhere. One trick to make sure is to press lightly on the base of the bulb with your fingers. In the event that it sinks, we can rule it out.
When we already have the perfect bulbs, It is time to till the ground with the hoe. This way we will release the earth, which in turn will be soft. Then we can put the bulbs in, but always respecting a certain distance between them. Generally it is advisable to leave between five and twenty centimeters between each one, but it depends on the size of each species. In the case of daffodils and hyacinths, for example, the ideal is to plant them leaving a distance of approximately ten centimeters, since they are quite small.
Another aspect that we must take into account when introducing the bulbs into the ground is the depth. It also depends on each species and is usually indicated on the label of the vegetable. As a general rule, it is usually planted at a depth corresponding to twice the size of the bulb. It is also very important that the sprouting point, that is, where the plant will end up emerging, is always facing upwards. Finally, it only remains to cover the bulbs that we have planted and water them. But be careful, the latter must be done in moderation so that the substrate does not puddle.
Now we know how to plant bulbs, either in a pot or directly in the ground. As you can see, it is a fairly simple task that will give a very nice and cheerful look to the environment.
Interesting article, thanks for the information, I'm from Chile and I also like colored coves (they don't work for me).
Hi Carlina.
Maybe you like then the article we did about colored calla lilies, in which we explain how to take care of them 🙂. Click here to see it.
Greetings.