
The Japanese medlar, or simply medlar, is a beautiful fruit tree. It has long dark green leaves, and it produces them in such numbers that, as it grows, it becomes a fantastic shade tree, since its crown is also wide.
If we talk about its fruits, they have an exquisite flavor. They finish maturing in late winter or early spring, and are a snack that serves to calm the stomach a bit. For all this, We are going to explain to you when and how to plant medlar.
When are medlars planted?
The medlars, whose scientific name is Eriobotrya japonicaThey are evergreen trees that reach over ten meters in height. Its growing season coincides with spring and lasts until fall; although it is important to say that during the winter it is still active, although of course to a lesser degree, especially if there are significant frosts in the place.
As it is a plant that grows well if its seeds are sown, If you want to know when to plant medlars, you have to take into account the following:
- Seeds: it is highly recommended that they be sown as soon as they are harvested, that is, between the months of winter to spring.
- Grown plant: If you buy an already grown specimen, then you can plant it in late winter or early spring. You could also do it in summer taking extreme precautions that we will now tell you, but it is not advisable to do it in that season.
How is the medlar sown?

Image - Wikimedia / Frank Vincentz
The step by step you must follow to plant a medlar from seed, is the following:
- First, you have to extract the bone (the seed) from the medlar.
- Afterwards, clean it well, thoroughly, with water. Remove all the pulp that may have remained.
- Next, fill a plastic pot about 10,5cm in diameter with universal substrate mixed with a handful of perlite, or with mulch. Make sure the pot has holes in the base.
- The next step is to water the substrate.
- Then, place the seed in the center, and bury it 1-1,5 centimeters.
- Now it is highly recommended to add a little copper powder so that the fungi do not harm it.
- Finally, if necessary, add a little more substrate, and then place the pot outside, in full sun.
You have to keep the substrate moist, but not waterlogged. Every time you water, pour water until it comes out of the drainage holes, but do not put a plate under it, otherwise the standing water will help keep the soil too wet, which will rot the seed.
How long does a medlar take to germinate?
It will depend on the care that the seedbed receives and the climate, as well as the freshness of the seed itself. But if it is from that year and you receive the proper care, will germinate in a month or two at most.
How to plant medlar (grown)?
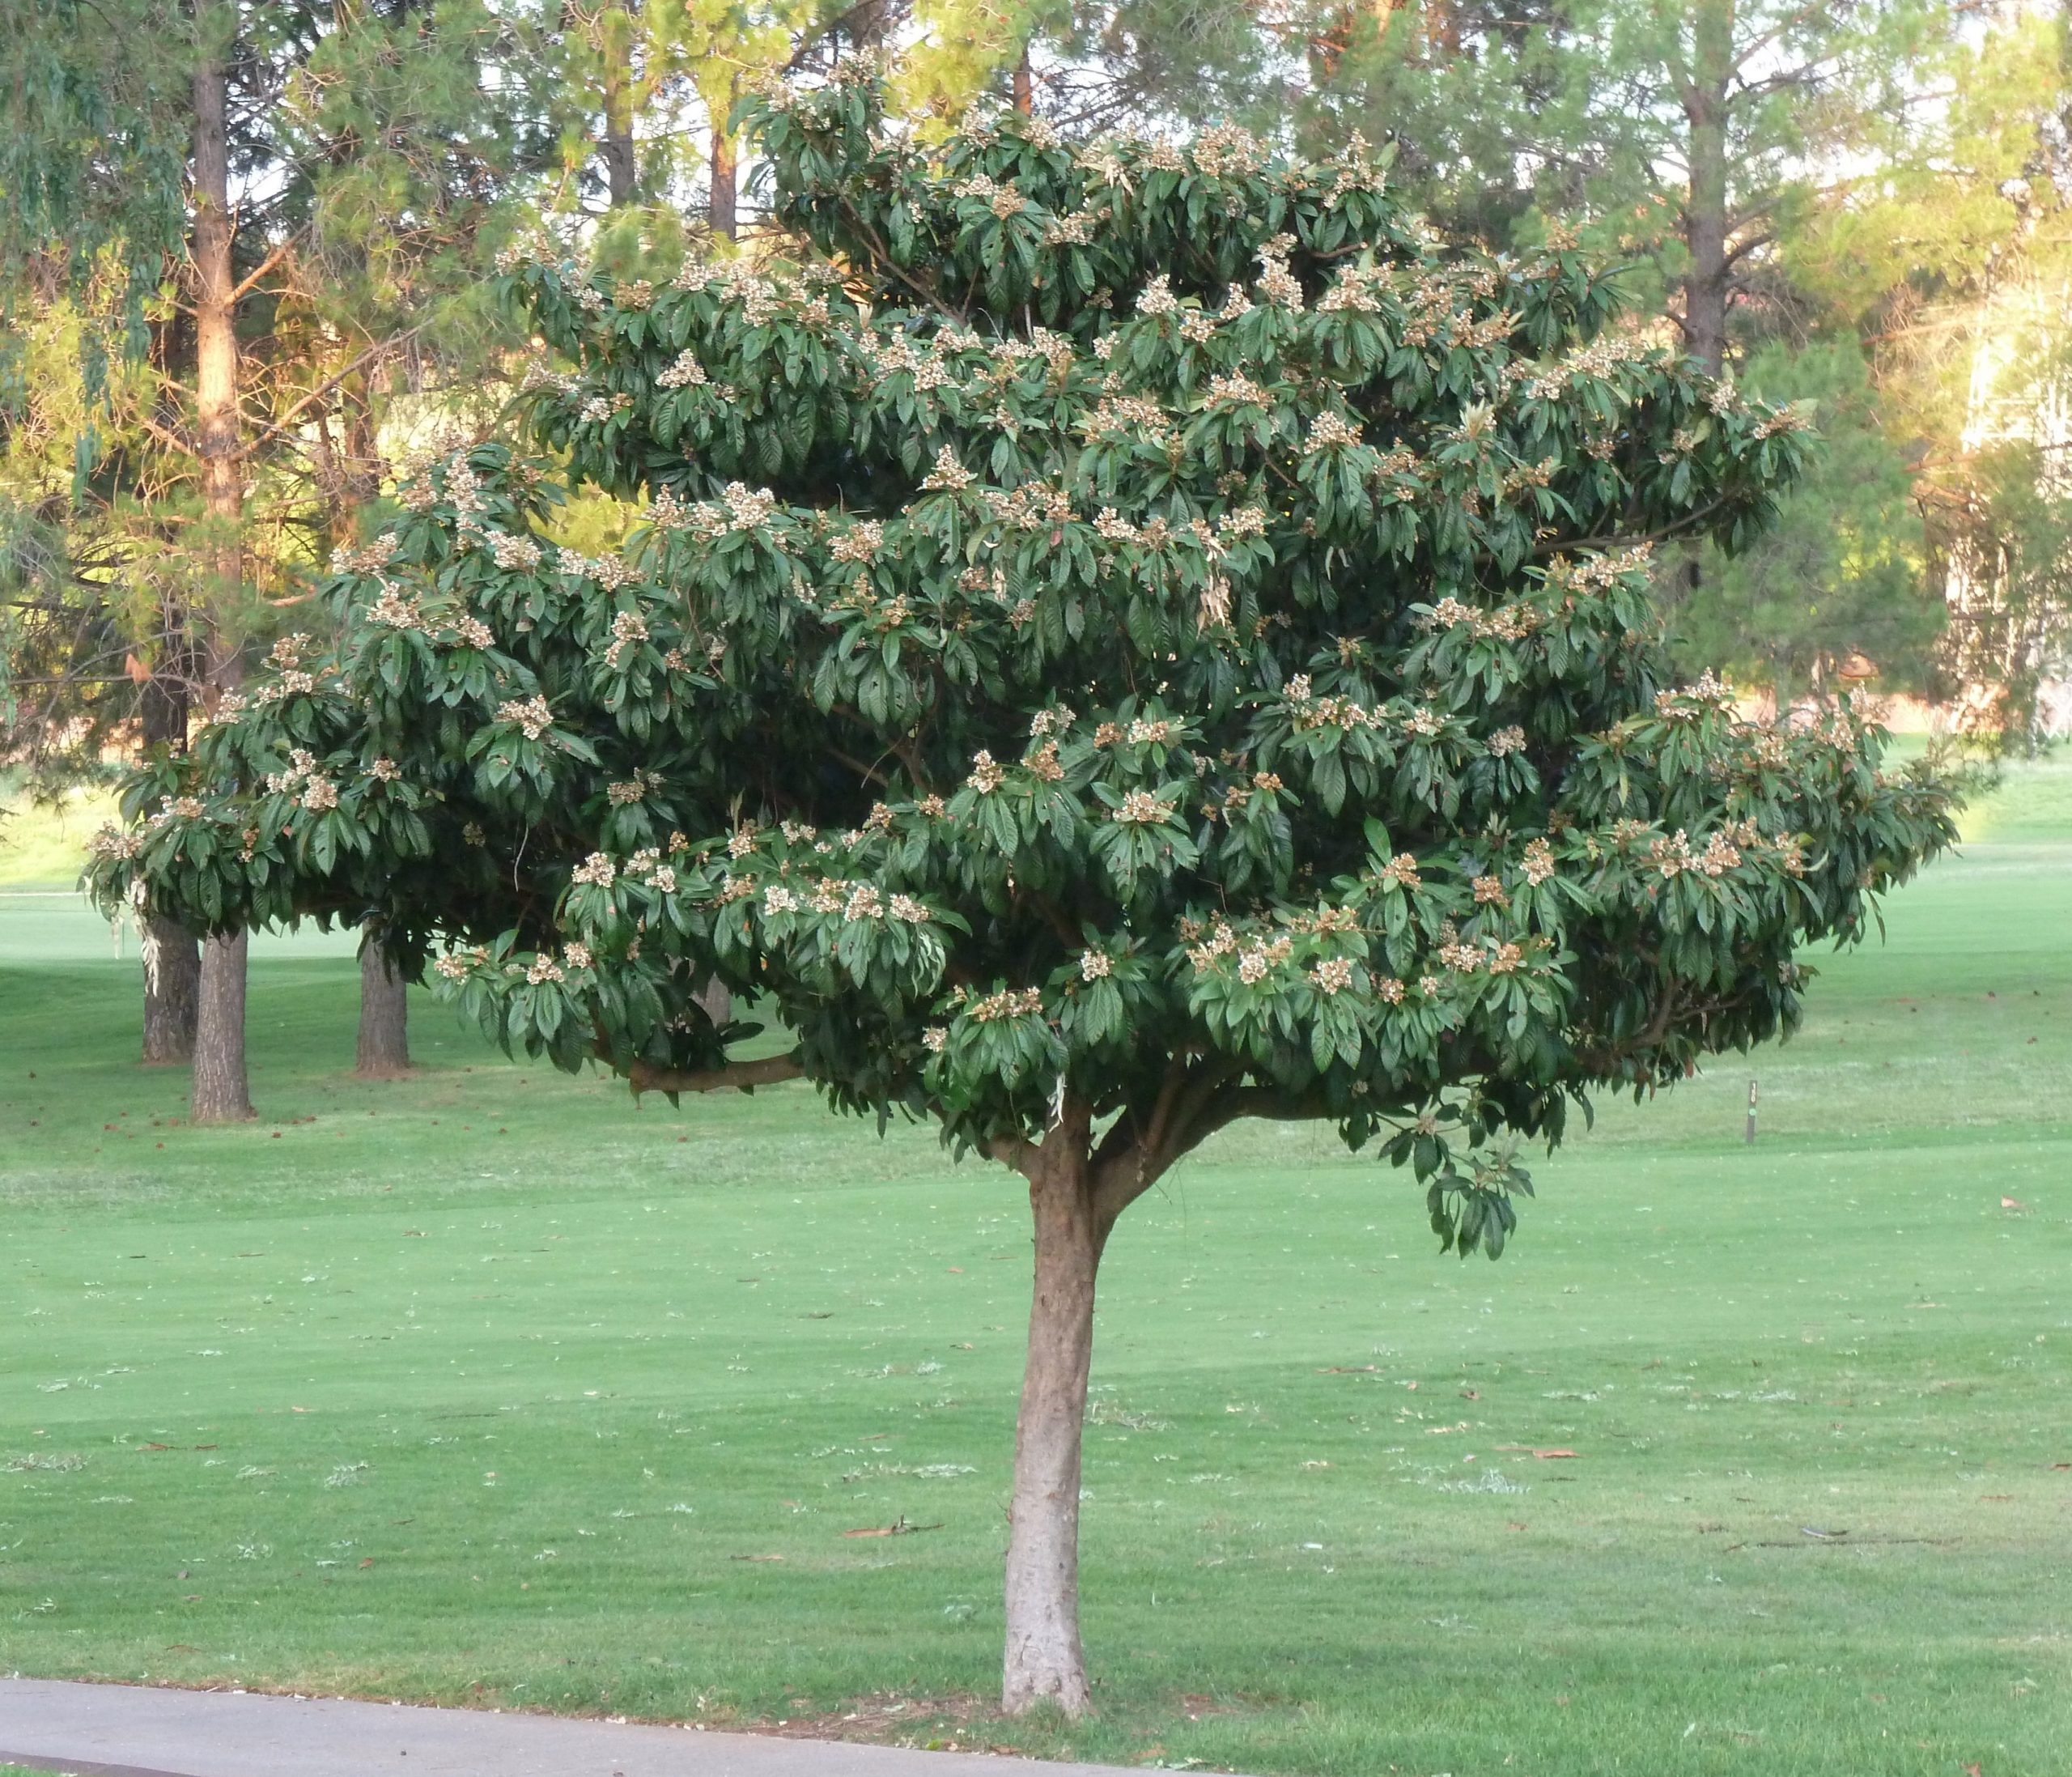
Image - Wikimedia / JMK
When you really want your garden or orchard to look beautiful as soon as possible, you can choose to buy trees of a certain size. Prices vary depending on the size, but the medlar is not the most expensive. In fact, the 1-1,5 meter specimens are usually sold for 20-25 euros.
Due to that height, They are perfect to plant in the ground as soon as possible, being highly recommended to do it at the end of winter. But, as we anticipated, it is also possible in summer, as long as one takes into account that it is necessary to avoid manipulating the roots, and that the planting hole must be made before removing the tree from the pot.
Otherwise, the steps to follow are these:
- First, you have to find the right location for it. Its roots are not invasive, but it must be planted at a distance of 4-5 meters from the walls and walls so that it can grow in conditions. In addition, you have to give it the sun.
- Then, make a hole of at least 40 x 40cm (in fact, it is better to be 1m x 1m, since the more 'loose' soil the roots are, the faster they will be able to root).
- Then fill it a little with a mixture of peat with garden soil, in equal parts, keeping in mind that the tree should not be too high or too low.
- Then carefully remove the plant, and insert it into the hole. If you see that it is very high or very low, do not hesitate to remove or to throw dirt.
- To finish, you will only have to fill the hole, make a tree grate with the land that has been left over, for example, and water.
If the wind in your area tends to blow regularly and / or strongly, put a stake or two so that it grows straight.
Now what you have to do is enjoy it a lot. You will know that the transplant has been a success as soon as you see that it is taking out new leaves, something he will do in a few weeks.
Has it been useful to you?