
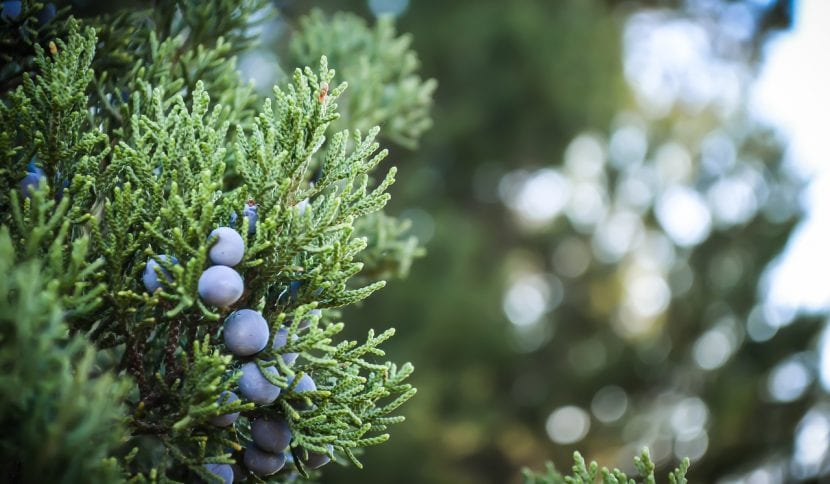
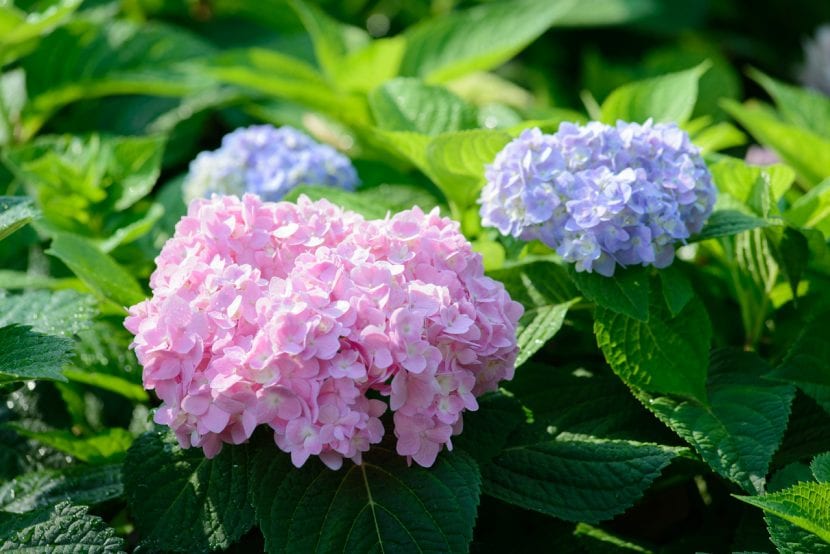
Shrubs are those plants that serve us for many things in a garden: creating hedges, having a more colorful and joyful paradise, attracting beneficial insects such as bees or butterflies, and of course also to fill in those gaps that have been left empty.
But for that you have to know when and how to plant a bush, because of course, if it is done wrong, the chances that our beloved plants will weaken are quite high. Still, there is nothing to worry about: this article explains all the steps to follow to avoid unforeseen events.
When are they planted?
Shrubs, regardless of whether they are evergreen (they remain evergreen) or deciduous (they run out of leaves at some point of the year), are plants that, like other plant beings, only grow when weather conditions are suitable for them. When is that? It will depend on the species and the evolution that it has followed, but it usually coincides with spring and summer.
Therefore, during these seasons, you must avoid removing them from the pot at all costs, since it is when they are growing and, therefore, when a large amount of sap circulates through their glasses. If they suffered any cut - or even micro cut - in their roots or stems, they would lose a lot and, consequently, they would be weakened. For these reasons, they must be planted when they are "asleep" or, at least, about to sprout. This means that you have to wait until autumn or late winter to make the planting hole.
How are they planted?
Once the time to plant them has come, it is very important first choose the right location. For this, it is necessary to know in advance if they need sun or semi-shade, as well as the adult dimensions that they will have. Thus, the choice of the place where they will be placed will be much more successful.
The next step will be make the planting hole and with a hoe. So that the roots can root more easily, I recommend that it be large, at least 50cm x 50cm (if it is a large bush, measuring 1m in height or more, the ideal is that the hole should be 1m x 1m). Afterwards, the soil that we have removed is mixed with more or less 30% of perlite so that the water can drain properly, thus avoiding waterlogging and subsequent rotting of the root system.
Then, the hole is filled with the mixture that we have made, and bushes are carefully removed from their pots. To do this, you have to tap the container a few times so that the substrate separates from it, and take the plants by the main stem. Thus, we pull them up to remove them.
Lastly, we place the bushes in the center of the hole so that there are only 0,5cm below ground level, we finish filling it and water it thoroughly.
And ready. From now on we can enjoy having some beautiful bushes in the garden. 🙂